Creating Installment Payments for Vouchers
Note: This Knowledge Base Article is for Accrisoft Freedom Customers using New Finance
Vouchers can be paid via Installments in Accrisoft Freedom. The steps below will show how to create a Voucher order and configure Installments for that order.
Vouchers Module
Create a new Voucher Order in the Vouchers Module following the standard '+ Order' process. Begin by clicking the green '+ Order' button.

Review the 'Create Voucher Order' window that appears. in the Members section, select the 'Billing Contact' and the 'Voucher Recipient' by clicking on their respective blue buttons.
- The 'Billing Contact' is Contact Database record that will be paying for the Vouchers
- The 'Voucher Recipient' is the Contact Database record that will have the Vouchers associated with their record.
In the Details section, search for or select the appropriate Voucher product from the 'Items' field.
Scroll down in the 'Create Voucher Order' window to reveal the green 'Continue' button in the lower right corner of the window, and click the button.
In the 'Select Discount' step, add a Discount if Appropriate. Click the blue 'Skip' button if no Discount is being added to the order.

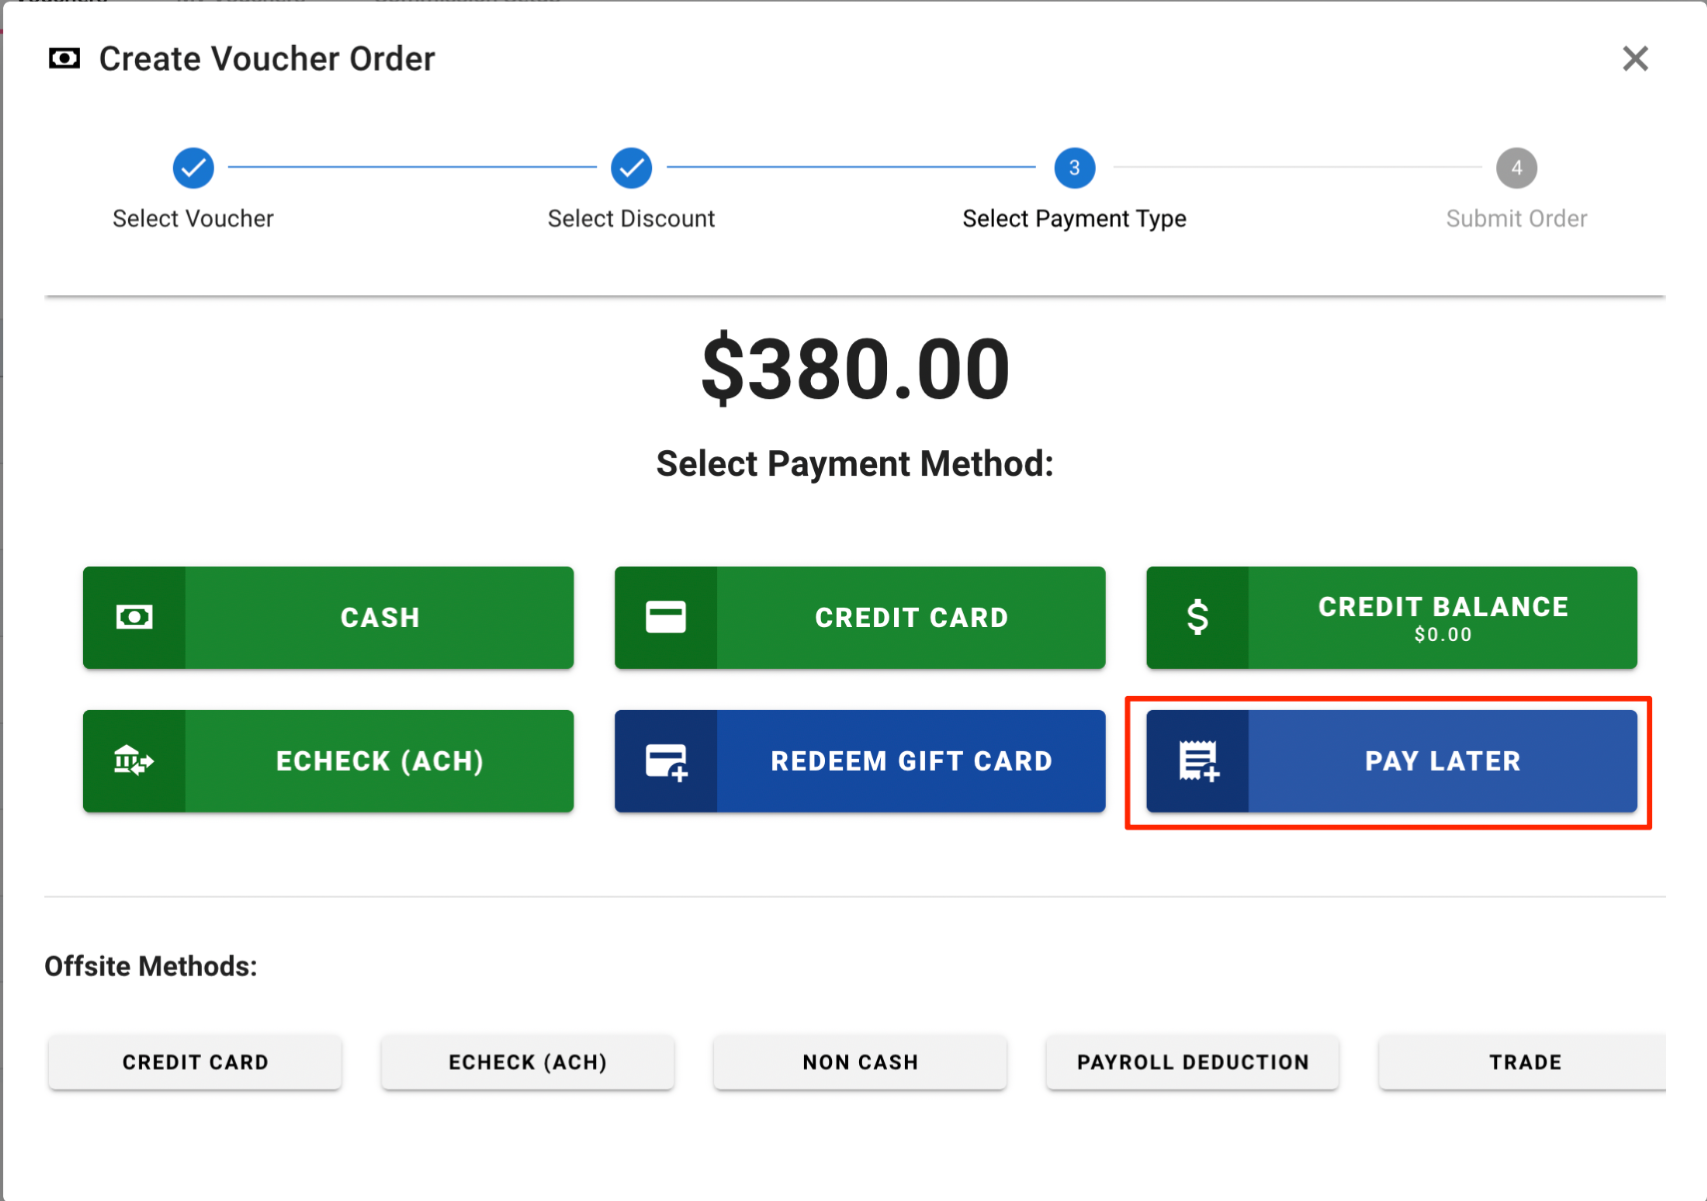
In the 'Select Payment Type' step, select 'Pay Later' by clicking that button. This will create the order with no payment yet applied to it.
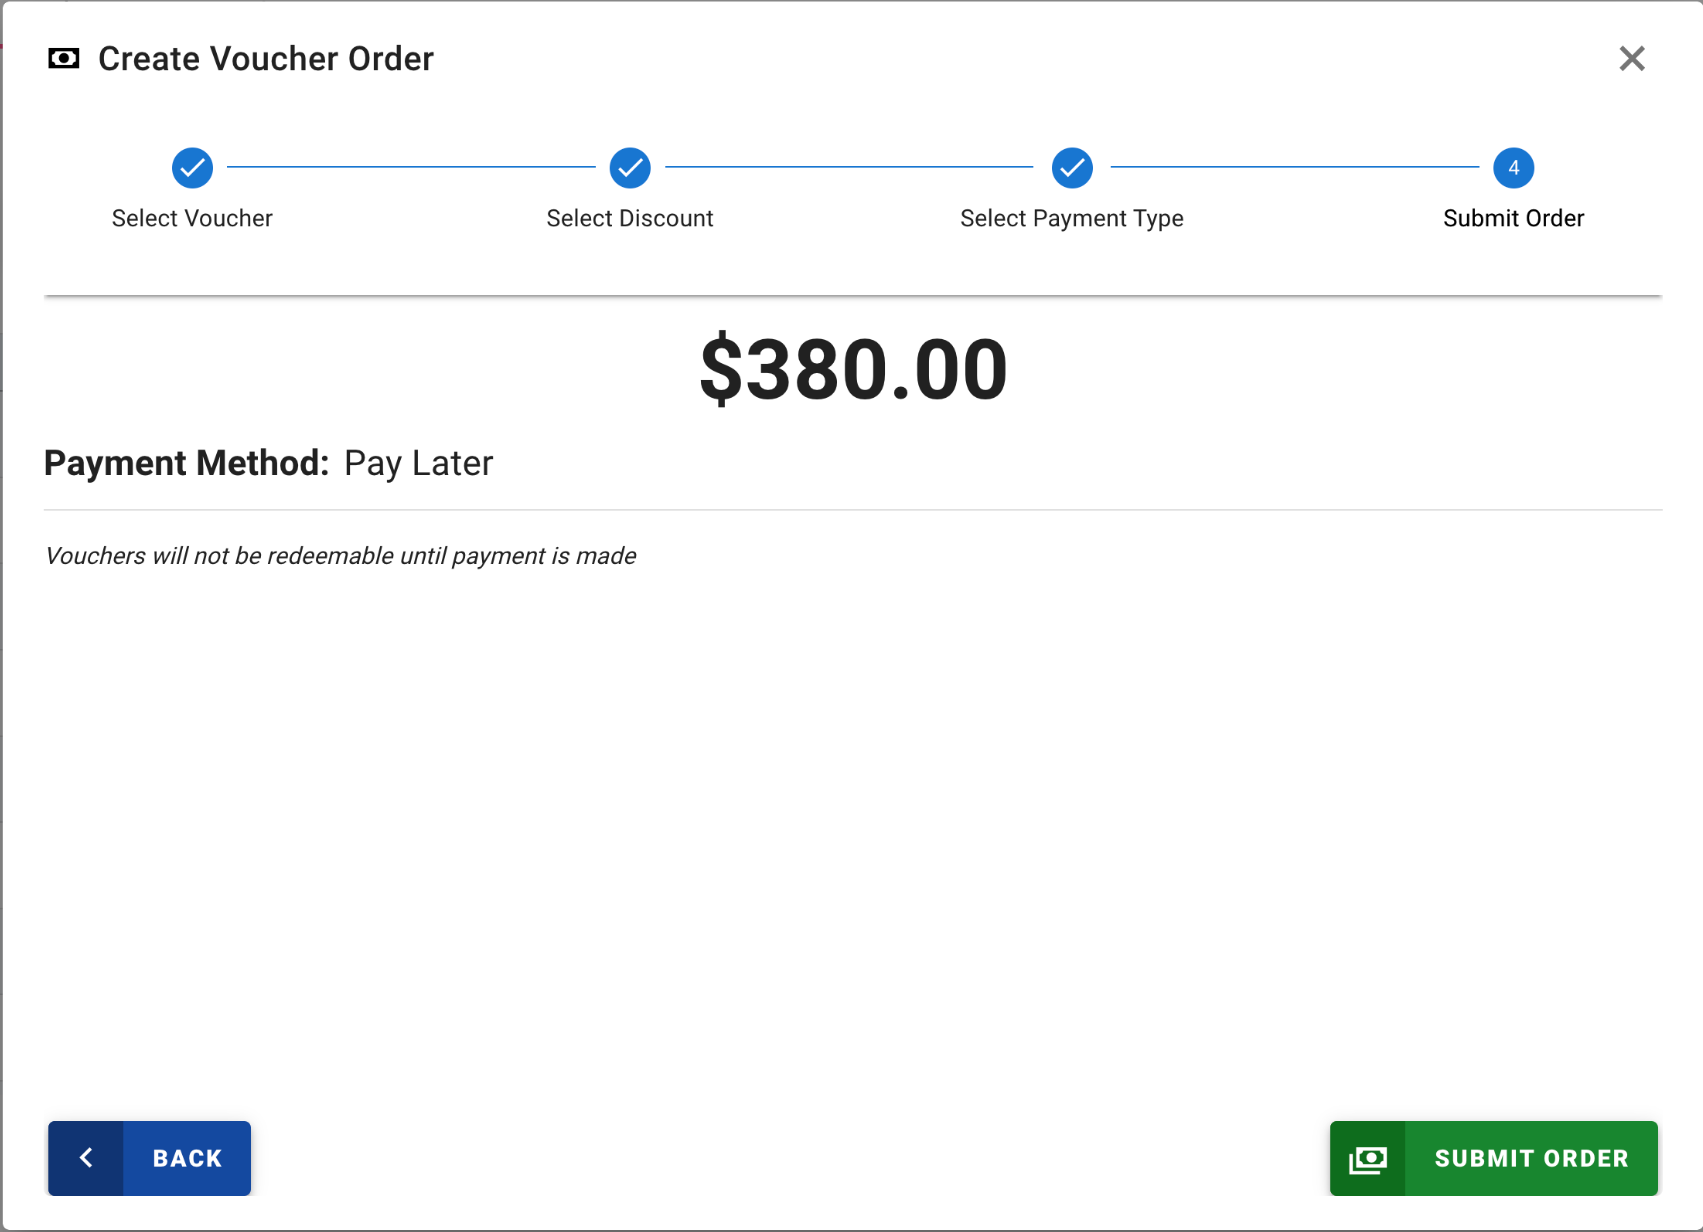
In the Submit Order step, click the green 'Submit Order button int he bottom right to complete the Voucher order.
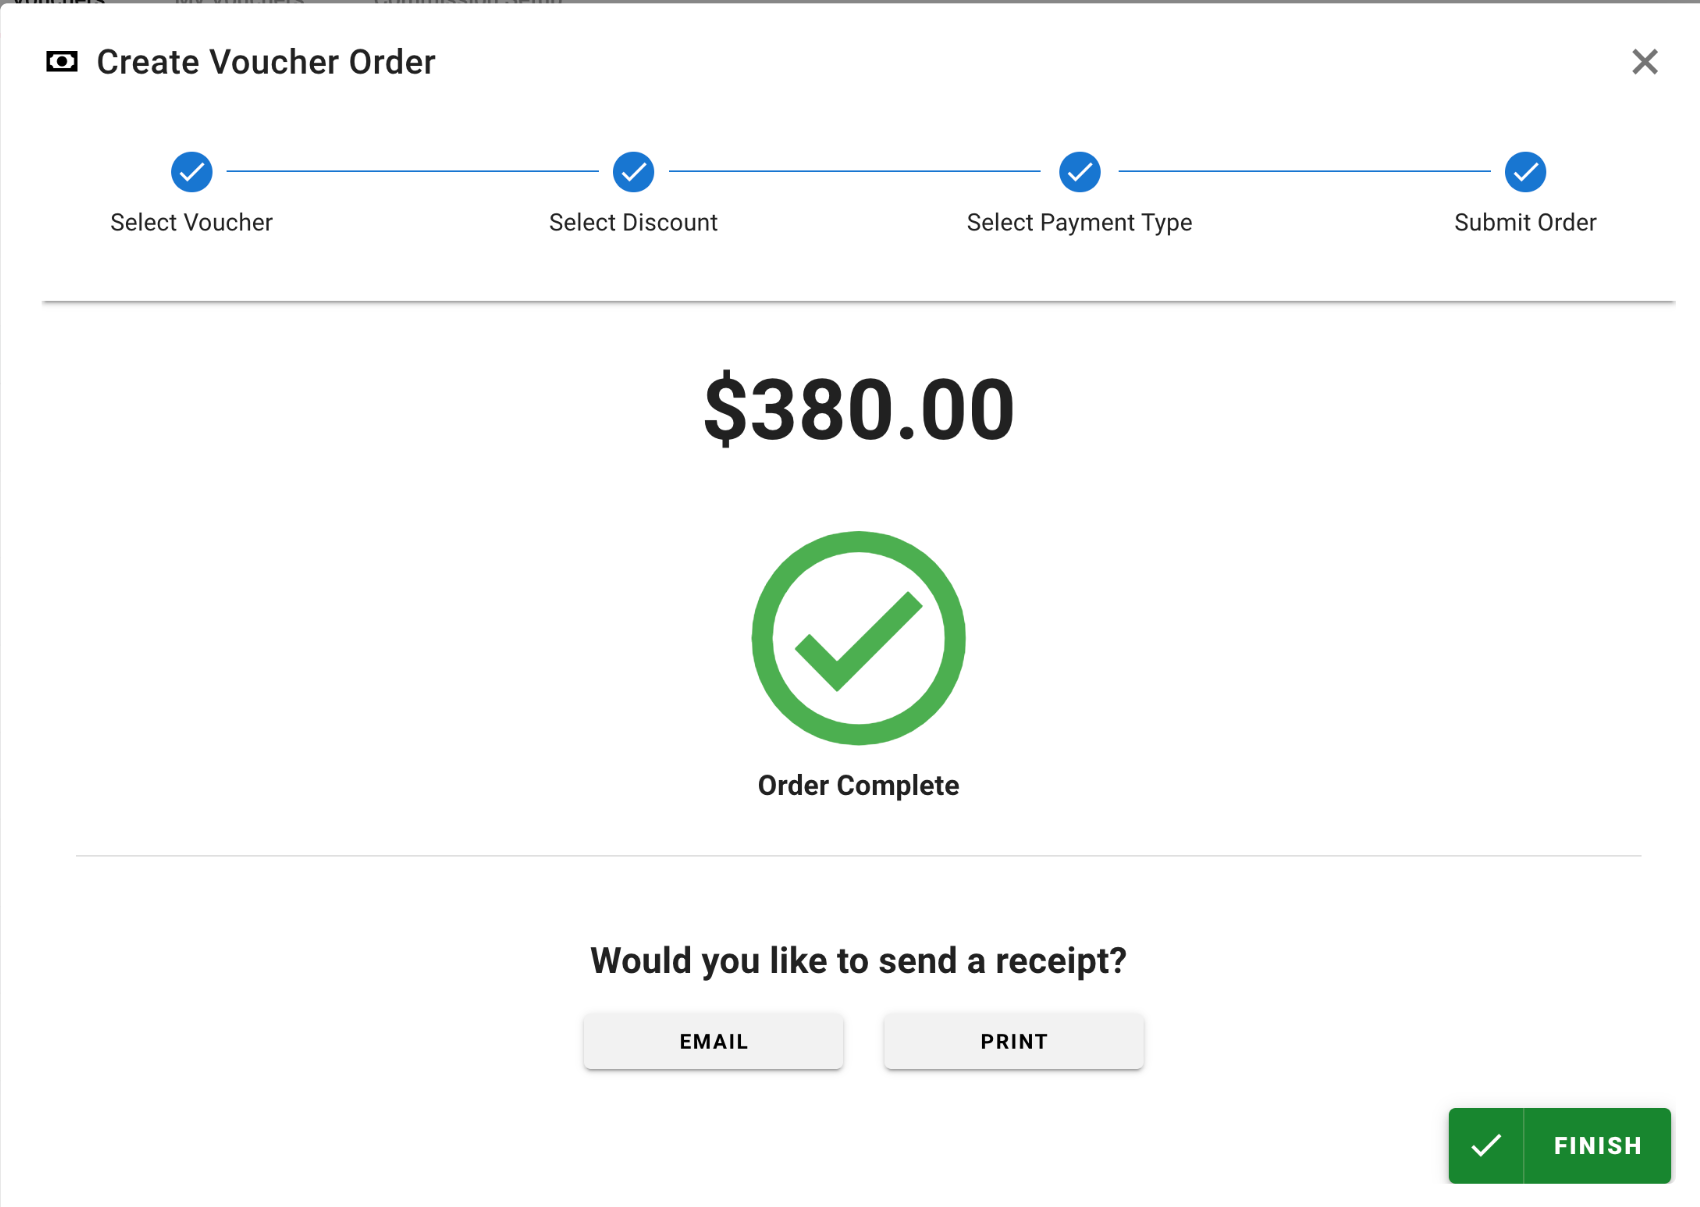
In the next step you may Email or Print a receipt, or simply click the green Finish button.
Ledger Card Module
To set up the Installments for the Voucher order, you will need to find the order in the Billing Contacts Ledger Card.
Go to the Finance Application, click on the Ledger Card Module and view the detail of the Voucher's Billing Contact.
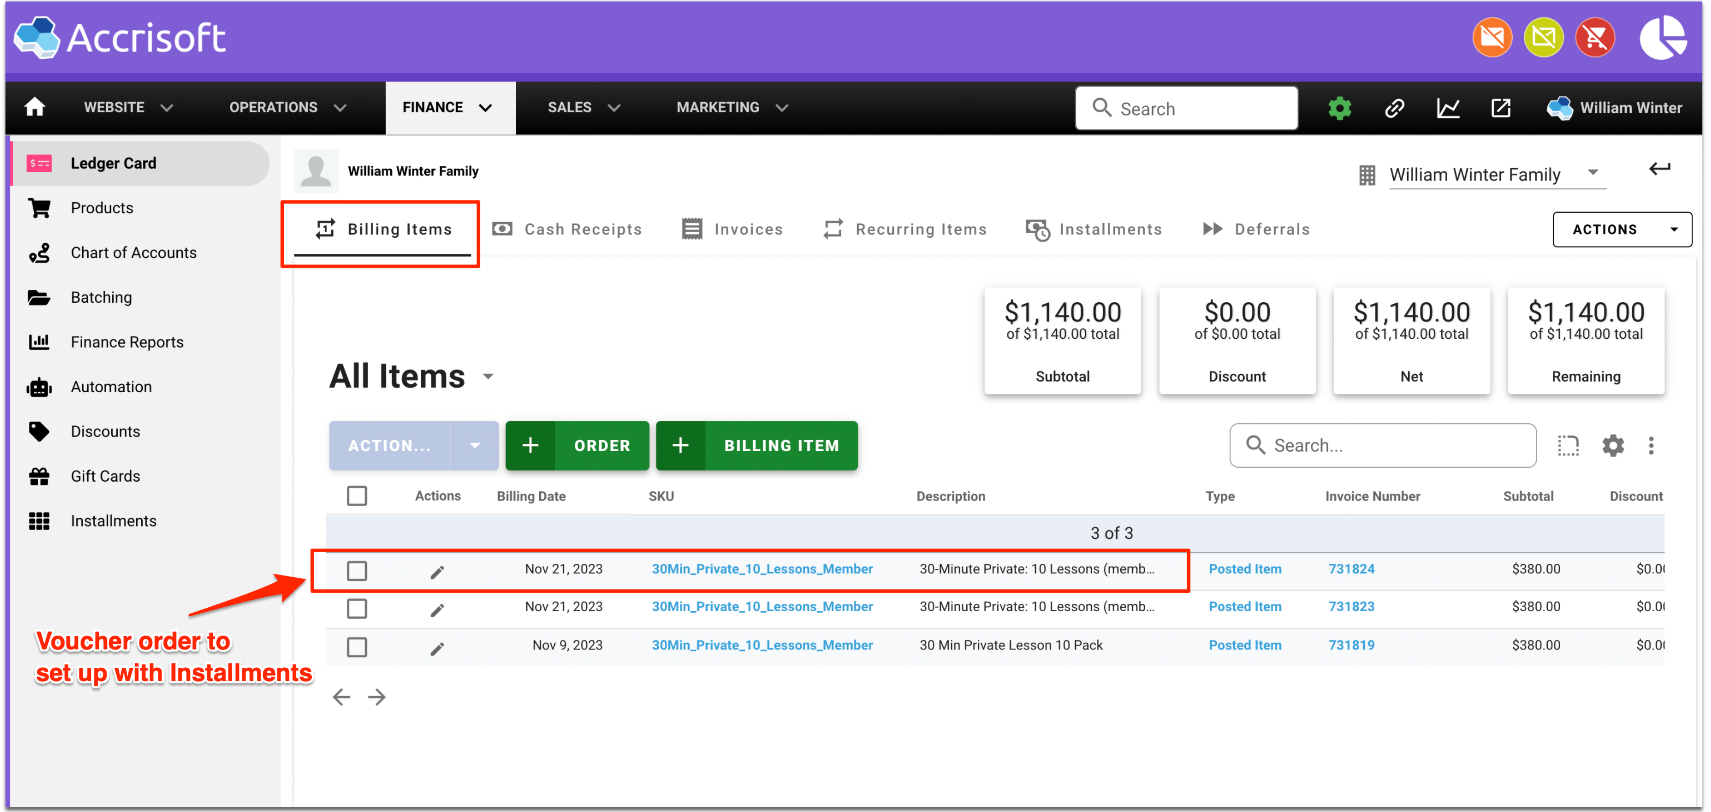
Locate the Billing Item for the Vouchers order and place a checkmark in the box at the left side of the Billing Item. This will enable the blue 'Action...' menu.
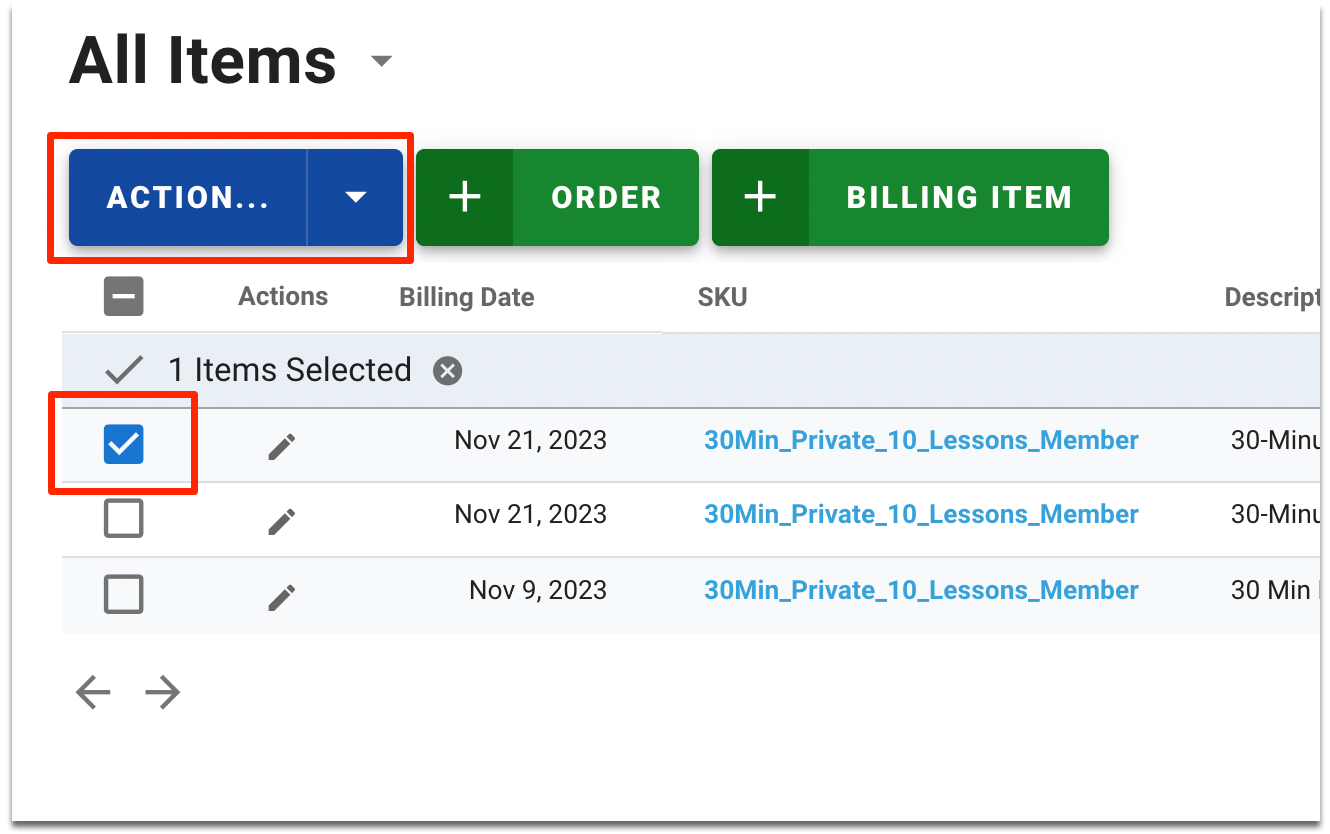
Click the 'Action...' menu to reveal the menu's options.
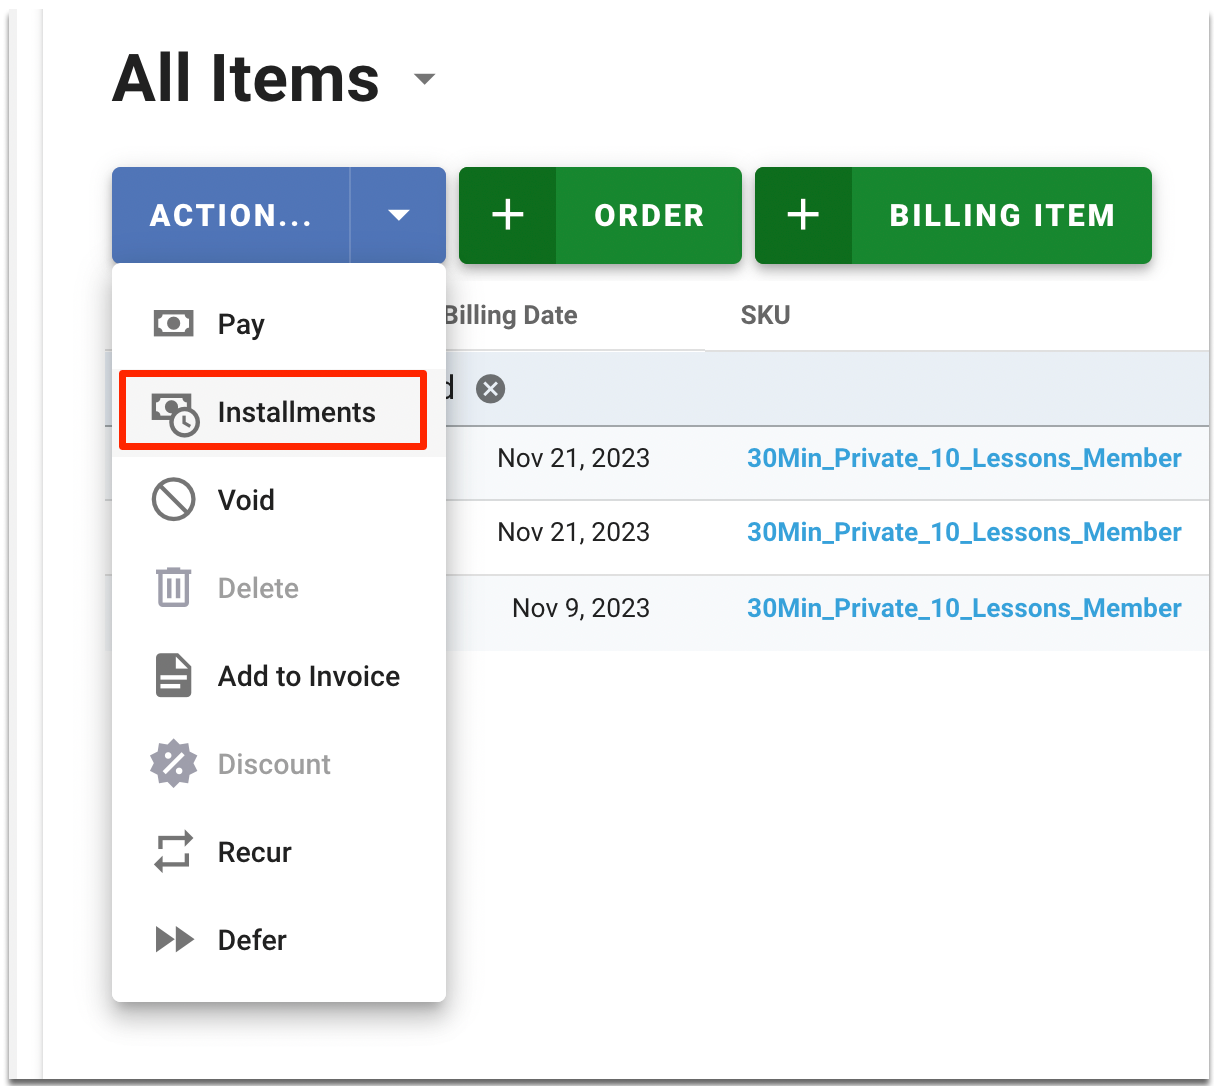
This will open the 'Create Installment Schedule' window to set up the Installments.
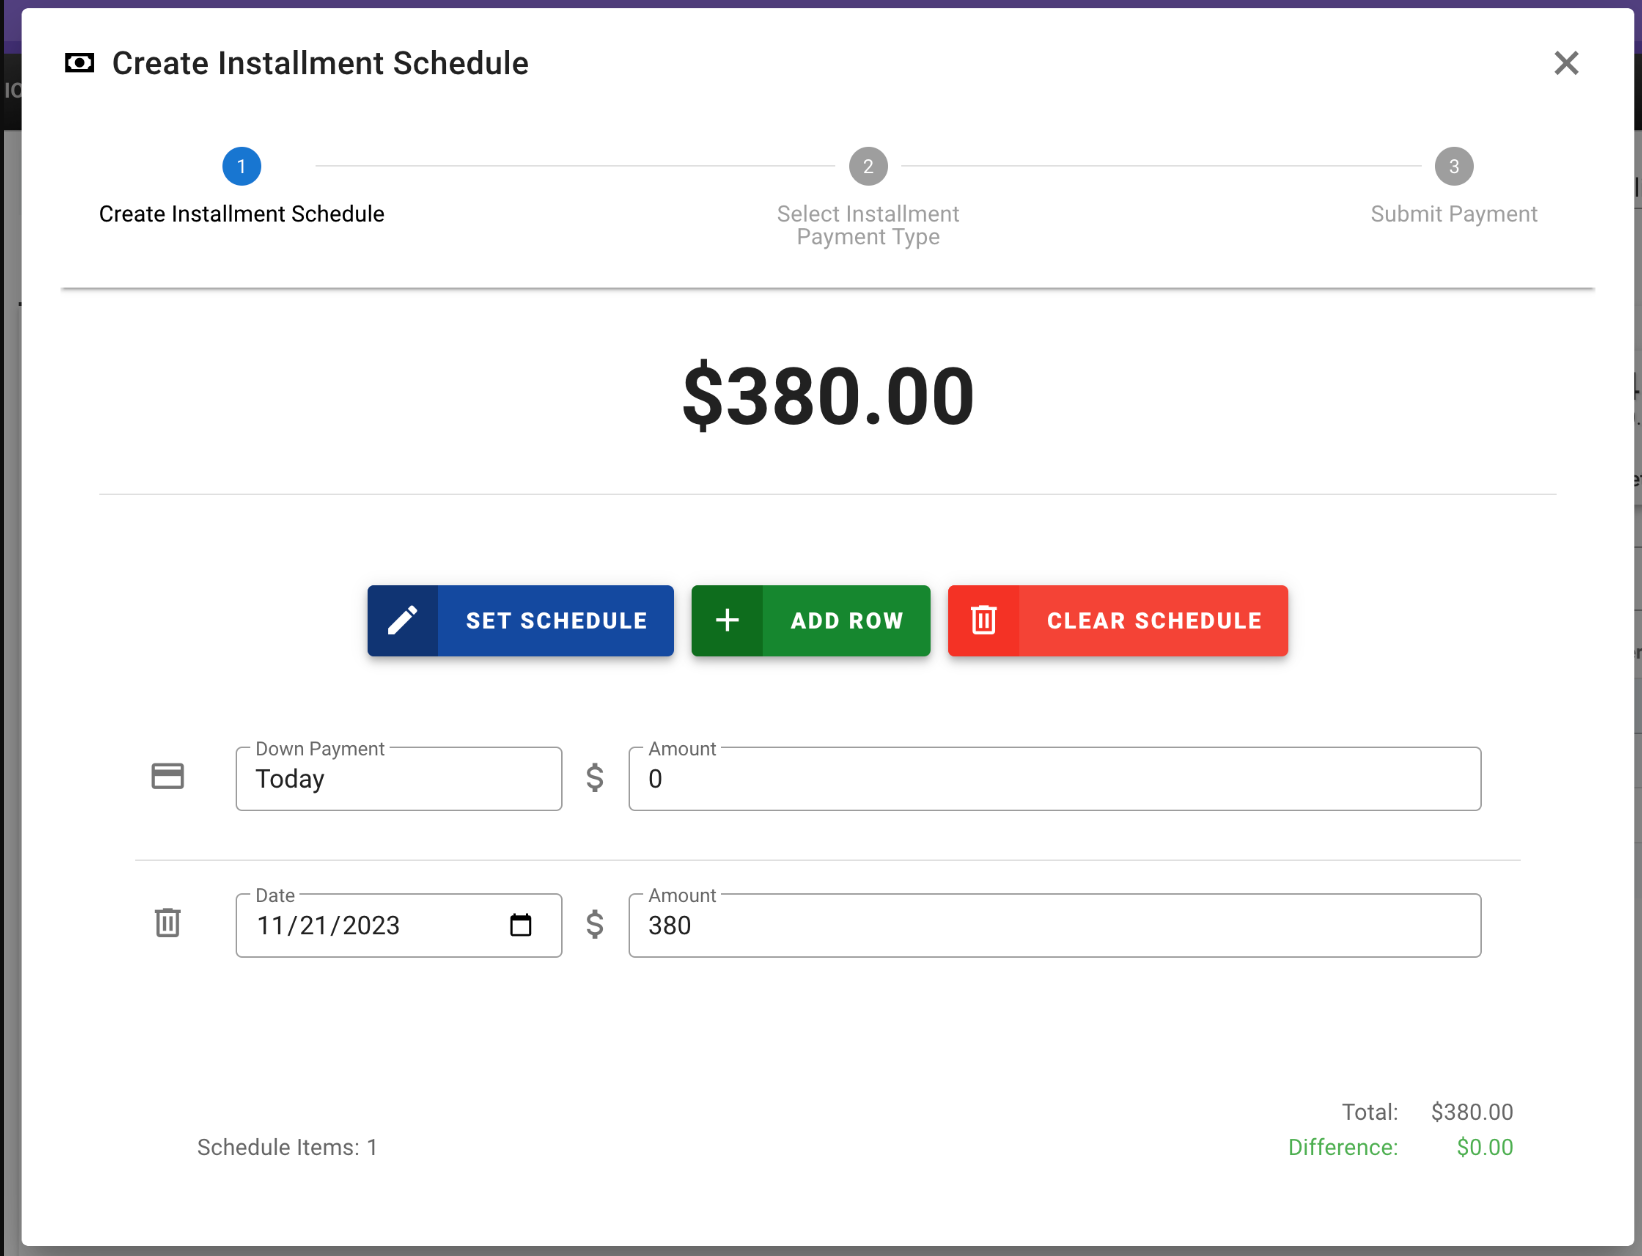
In this example we will configure the installments to have a $100.00 initial Down Payment, and then four (4) installments of $70.00 each on the first day of the next four (4) months.
Using the green 'Add Row' button add three (3) additional rows.
If you make a mistake, you can delete a row or click the red 'Clear Schedule' to start over.
With the rows added, enter the appropriate amounts and dates for each row.
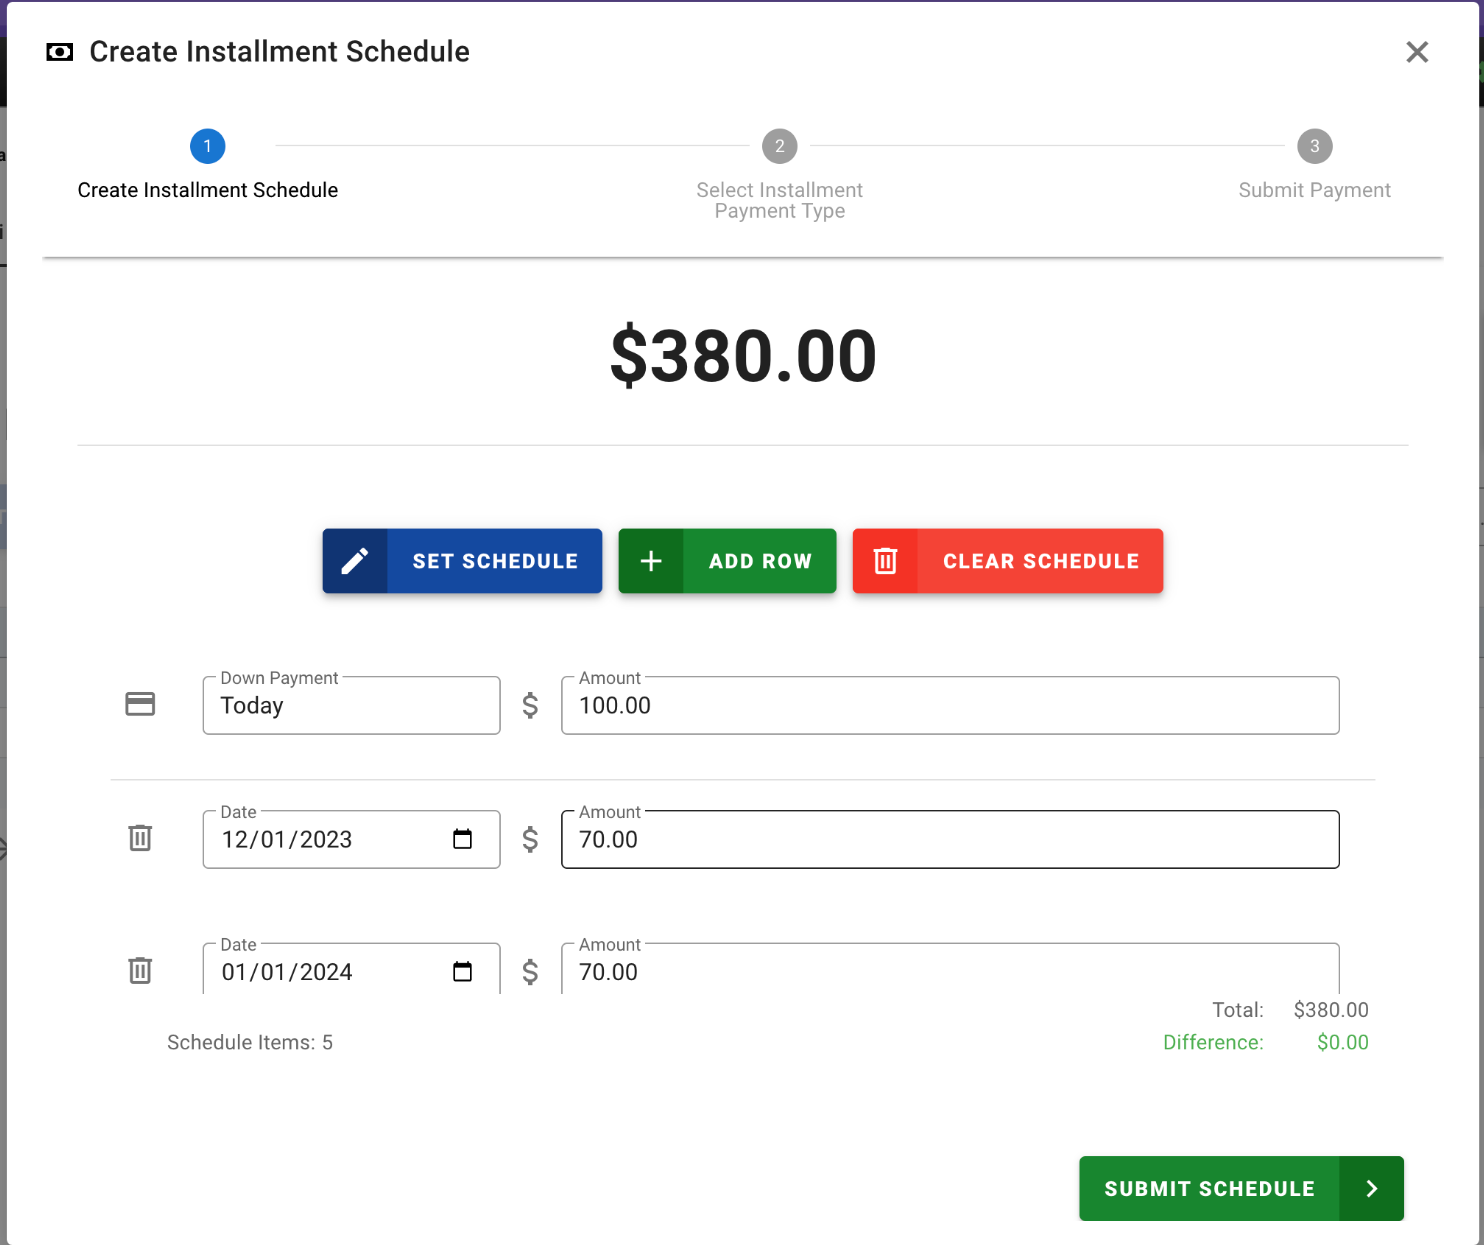
With the Installment Schedule created, click the green 'Submit Schedule' button to move to the next step.
On the 'Select Installment Payment Type' step, select 'Credit Card' or 'ECheck' as the Payment Type. This will be how the Installments will be charged.
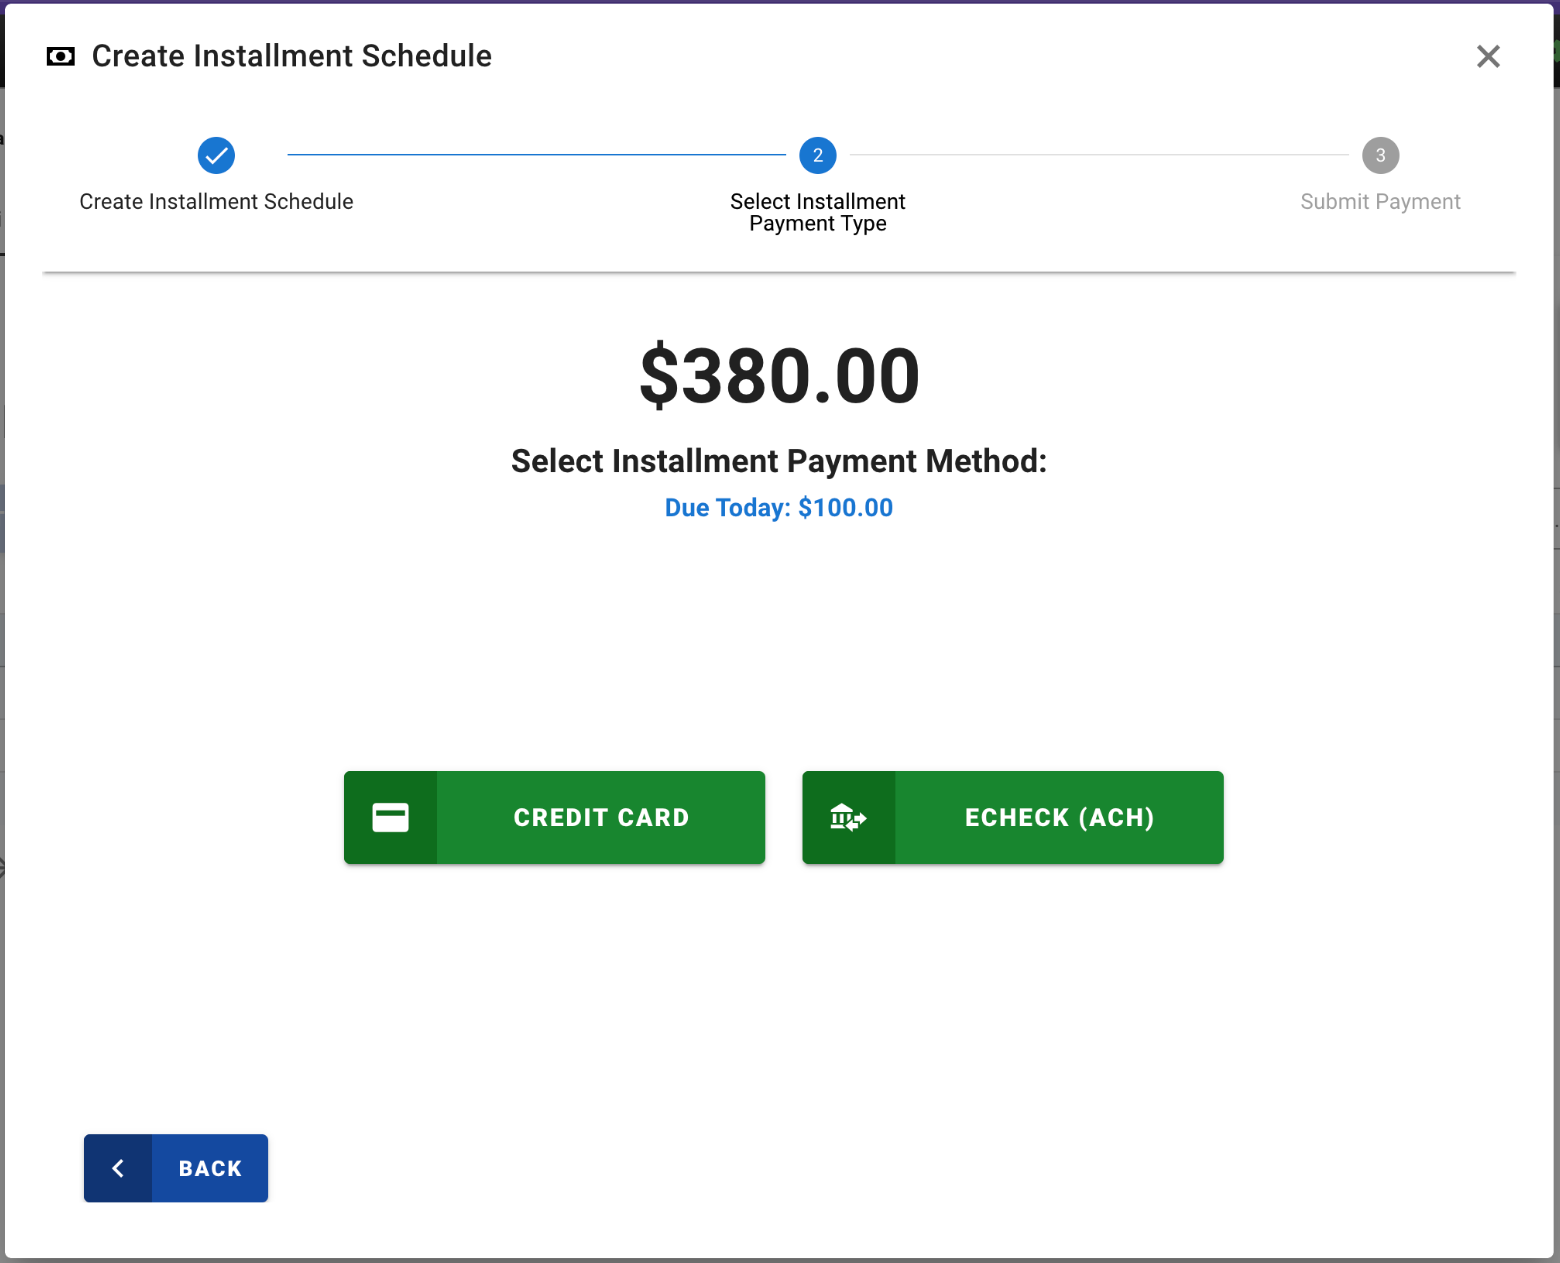
You can select the Customer's Default Card, an Alternate Card or enter a New Card to add on file.
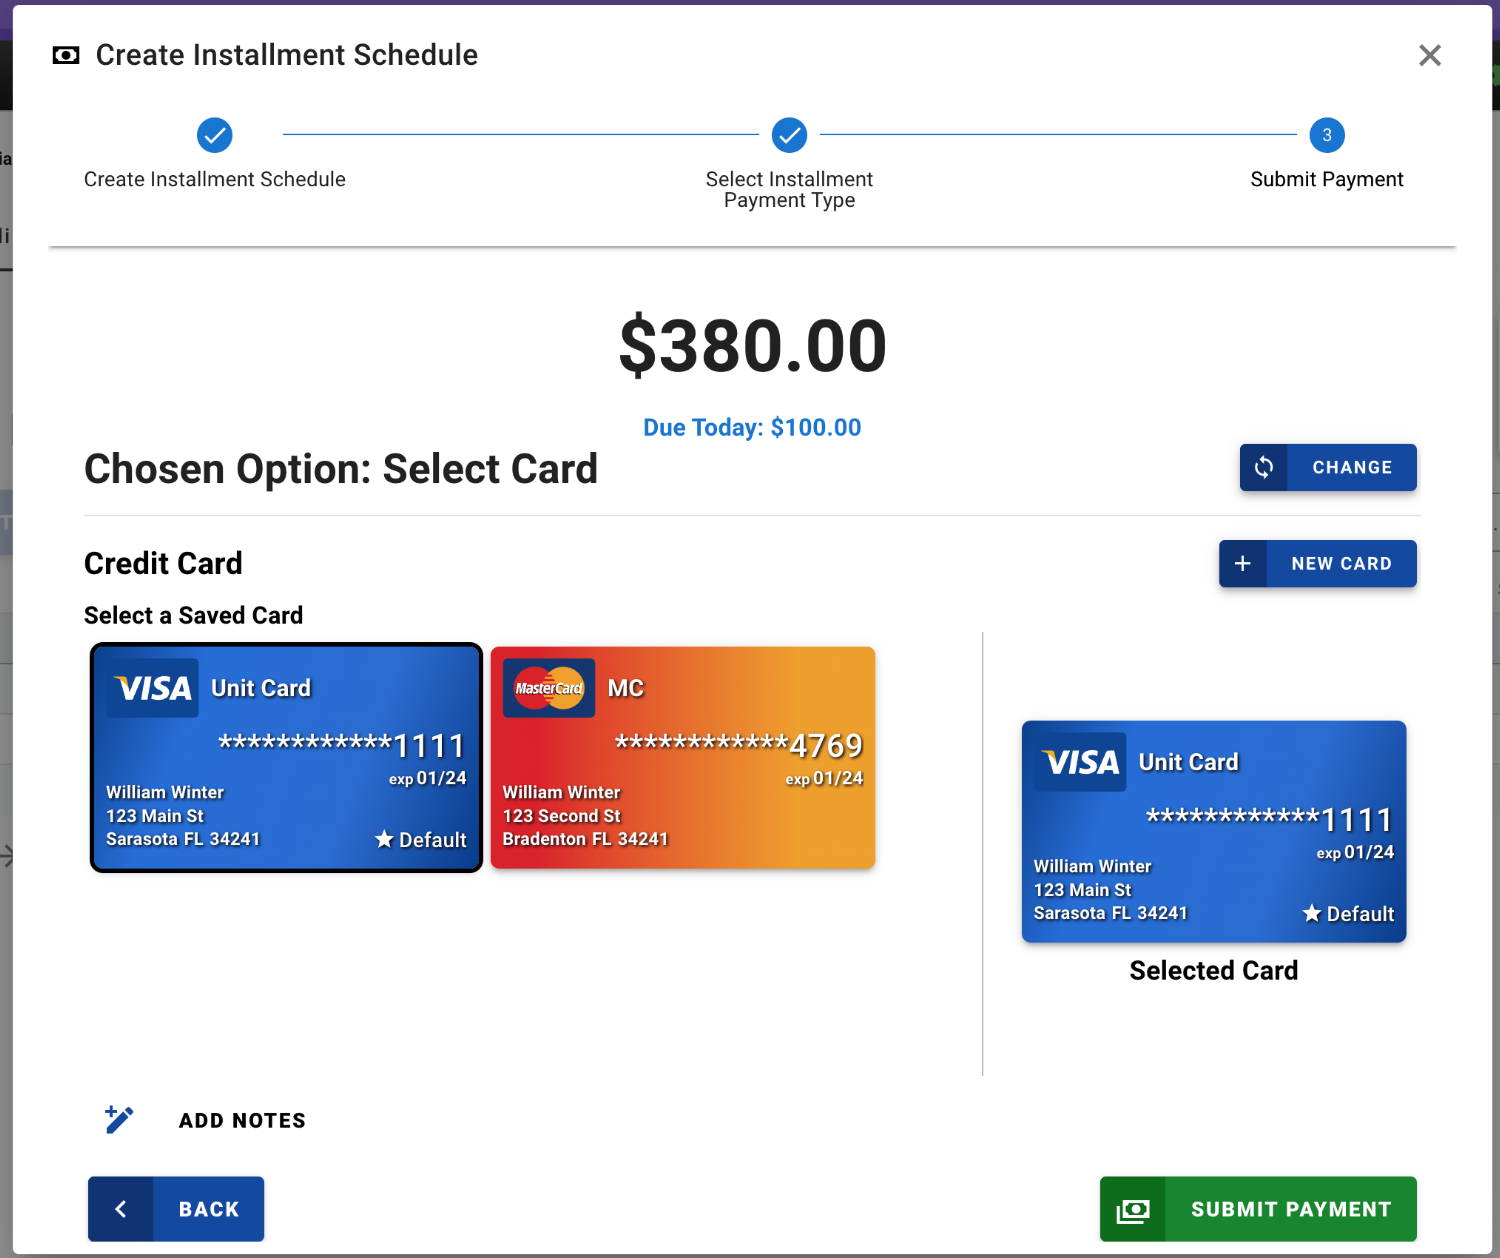
The card is required to be on file as that is the card that will be used for all of the Installments.
Select the green 'Submit Payment' button to continue.
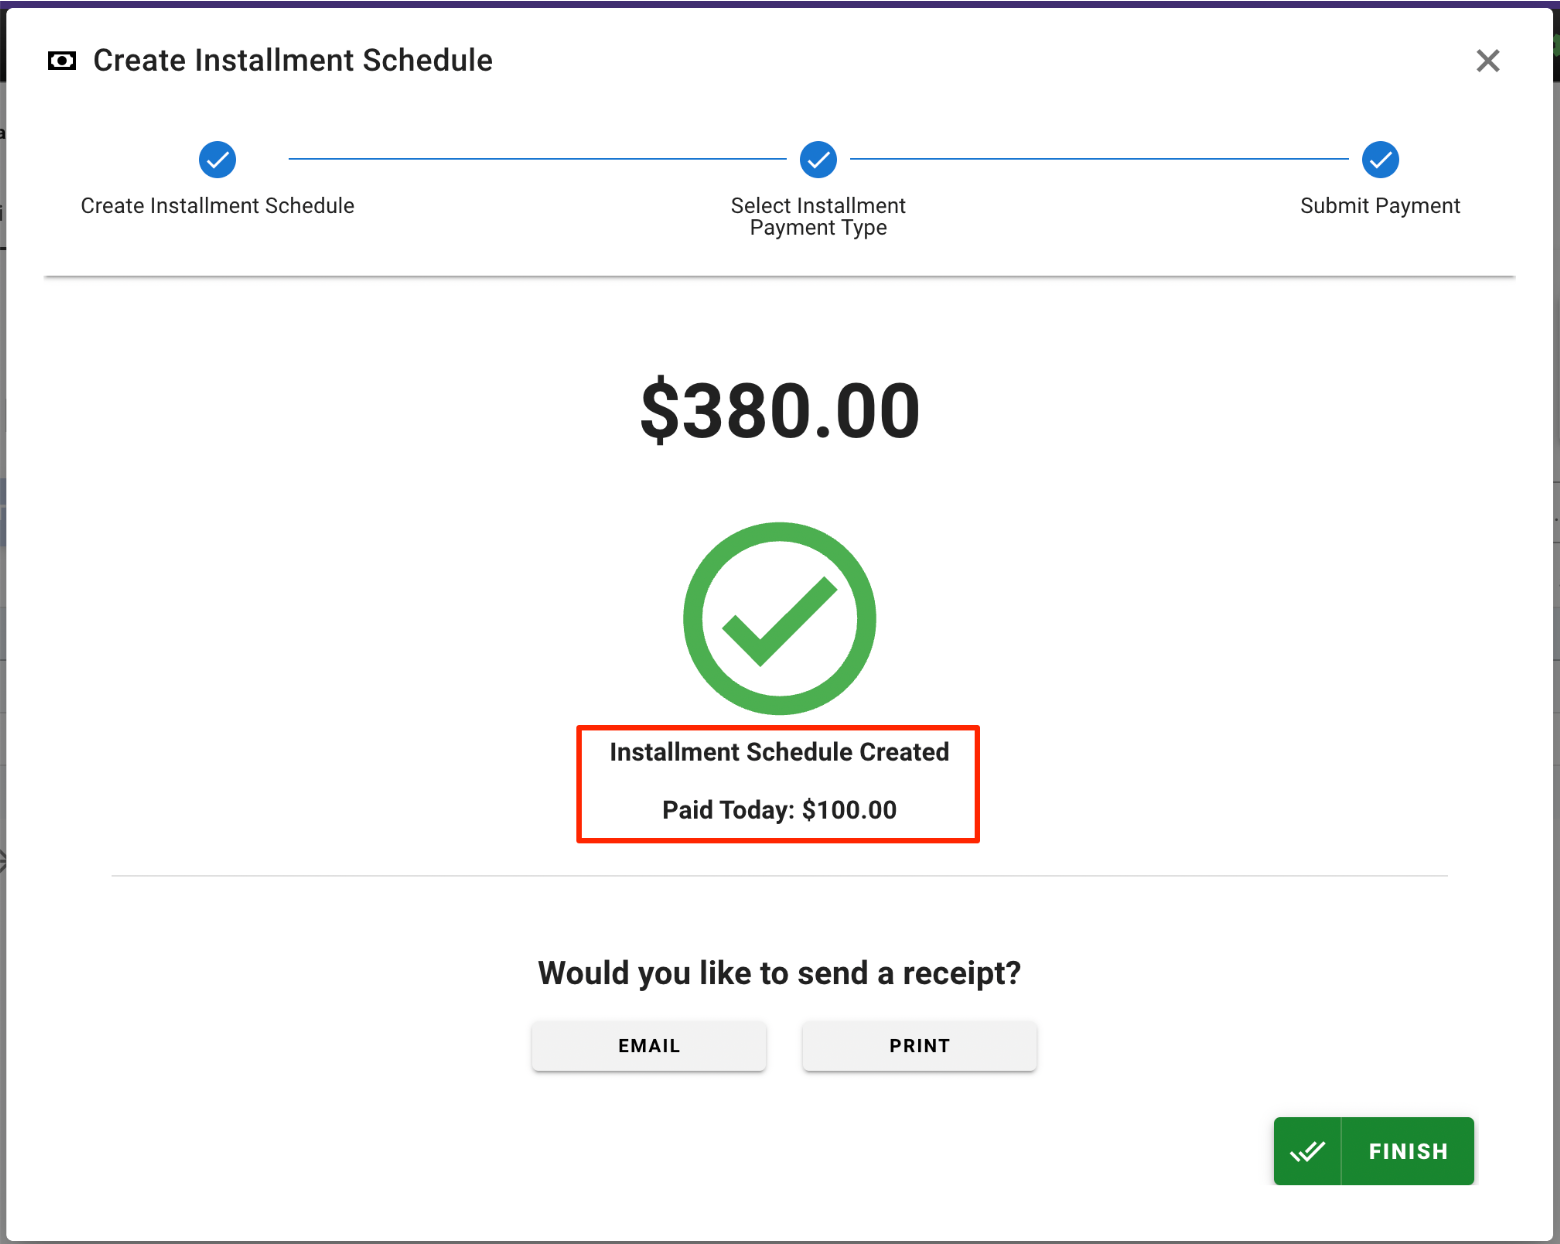
The Installment Schedule will be created and the Down Payment will be charged immediately.
You can Email or Print a receipt, and you may flick the green 'Finish' button to finish the process.
You can review the Installment Schedule at any time by looking at the Customer's Ledger Card 'Installments' Tab.
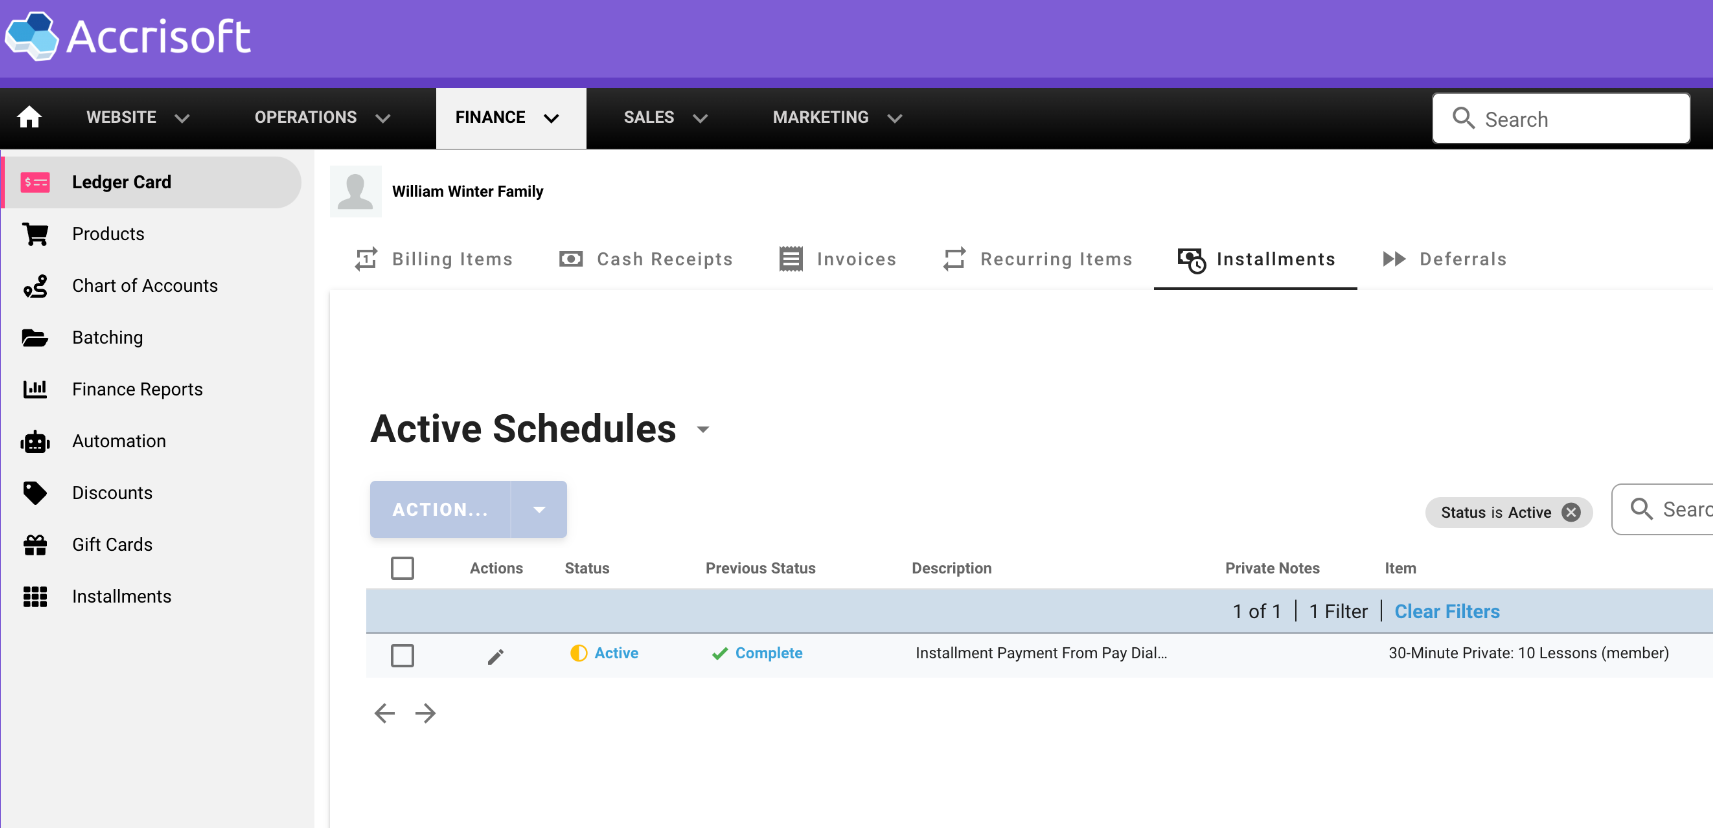
This allows you to view any Active or Completed Installments.
![accrisoft_logo_med.png]](https://help.accrisoft.com/hs-fs/hubfs/accrisoft_logo_med.png?height=50&name=accrisoft_logo_med.png)